Schedule Groups |
  
|
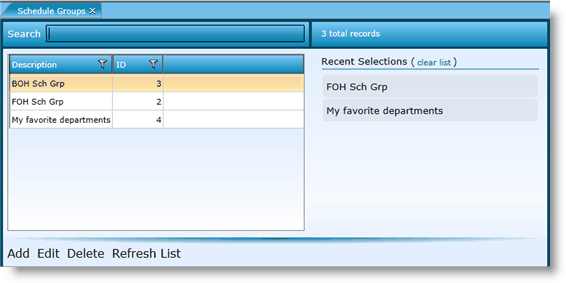
Schedule Groups |
|
Labor Admin > Scheduling > Schedule Groups
Adding Users to a Schedule Group
Schedule groups are a way of dividing up jobs into separate groups for scheduling purposes.
Example: The front of house manager is responsible for scheduling the front of house and the back of house manager schedules the back of house. Two schedule groups are established: 'Front of House' and 'Back of House'.
In the 'Front of House' schedule group, you include jobs like 'Server' and 'Host' and in the 'Back of House' schedule group included are the jobs 'Runner' and 'Dishwasher'.
In this example, only the Front of House manager will be able to see and schedule employees who are assigned to jobs in their schedule group and the Back of House manager will be only be able to see and schedule employees who are assigned to the Back of House schedule group.
Note that schedule groups will not be available until they are added to a schedule group set and assigned to an entity in either default labor definitions or labor definitions.
1.In the General tab, click the Add link.
2.Click in the Description field and name the schedule group.
3.Click the Add Row button.
4.Click in the Job field and select the job you want to add from the drop-down.
5.Click once in the Code field. The corresponding Code for the job selected should populate.
6.Click the Save button.
1.Open the schedule group and click on the Users tab.
2.Identify users who should have access to the schedule group. Ultimately only the users included in the right column, Selected Users, will be able to access the schedule group. To move items to the Selected Users column, click on the user in the Available column and then click on the Select button. To select multiple users at once, hold down the CTRL key on your keyboard, click on each user, then click on the Select button. The user(s) selected will move to the Selected Users column. Clicking on the Select All button moves all users to the Selected Users column. To exclude all users, click on the Unselect All button.
3.Click the Save button.
For more information on how to select items, visit the Selecting Setup Items screen in the Tools section.
1.Either highlight the record you want to edit by clicking on it once to highlight it, then click the Edit link or double click on the record to open it.
2.Click the Edit button of the record you want to edit.
3.Make changes.
To search for a specific available or selected user, start typing in the appropriate Filter field. The list will automatically filter to include the users whose description match your search input.
4.Click the Save button.
To delete a schedule group, highlight the group by clicking on it once, then click on the Delete link. Make certain that the schedule group is not currently tied to any current or historical records. If associated to records, it may not be deleted.
Send feedback on this topic.