Users |
  
|
Users |
|
Labor Admin > Security > Users
Workforce users have access to the Workforce system. Typically, these users are managers and are responsible for labor and scheduling.
1.Click on the Add link.

2.Fill in the information for the following fields:
oUser Name - Enter the desired User Name. This will be the user's login ID and is a required field. Note that this must be unique for each user.
oFull Name - Enter the user's name.
oDescription - Add information about the user.
oEmail - Add the user's email address.
oDefault Entity - In order to assign a Default Entity, you must first visit the Entities tab and add the entities that the user should have access to. Once the applicable entities have been added, go back to the General tab and select the appropriate Default Entity from the drop-down.
oDefault Group - In order to assign the Default Group, you must first visit the Advantage Groups tab and add any groups the user is in. To set up a new group, visit Creating A New User Group in the User Groups section.
oTheme - Select a theme for the user. This will set the color scheme for the user. For more information on themes, visit the Changing the Theme section.
oFull Name Format - Choose what format should be used when listing employee names.
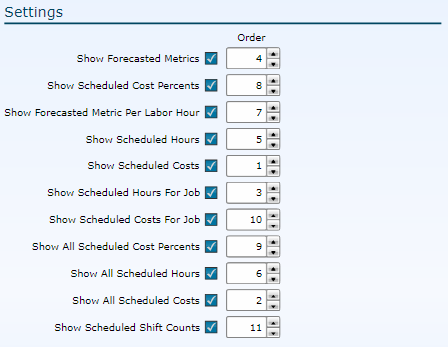
3.Indicate which schedule summary bands the user should be able to view:
The summary bands (initially set up under Enterprise Options) are also stated here. These are the summaries that will show up at the bottom of each schedule. If it is applicable for the user to only see specific summary bands, put a check in the box of the ones they should see and leave the check box blank if they should not see the summary band.
Additionally, you can set the order of these summary bands for the user. You can either:
otype the applicable number in the box next to the summary band or,
ochange the number of the summary band by clicking on the up or down arrows next to it.

4.Indicate which of the following settings should apply to the user:
For the following check boxes, put a check in the box if it should apply to the user and uncheck it (leave it blank) if it should not apply to the user.
oActive - This indicates that the user is active and should currently have access. If a user should no longer have access to Workforce, uncheck this box to make them inactive.
oPrompt for Entity - If the user is a member of more than one entity, they can be initially prompted, each time they log in, to select which entity they want to access. Note, they can always switch entities by changing the current entity in the Entity box in the bottom toolbar.
![]()
oPrompt for Menu - This option is no longer in use, effective with version 6.11.1 and will be removed soon.
oMust Change Password - To force the user to change their password upon initial log in, check this box.

5.Indicate which entities the user should be able to view.
For more information on how to select items, visit the Selecting Setup Items screen in the Tools section.
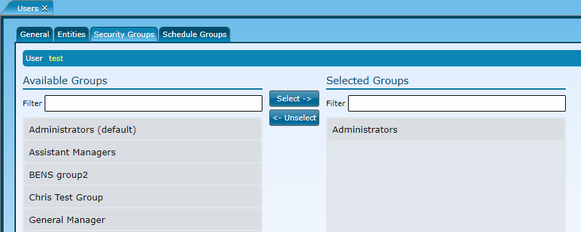
6.Assign which group(s) to which the user should belong.
If you also use Compeat Advantage, this list will be the same data as your Advantage Groups. If you do not use Compeat's Advantage software, this will list will be the groups you have set up for Workforce.
For more information on how to select items, visit the Selecting Setup Items screen in the Tools section.
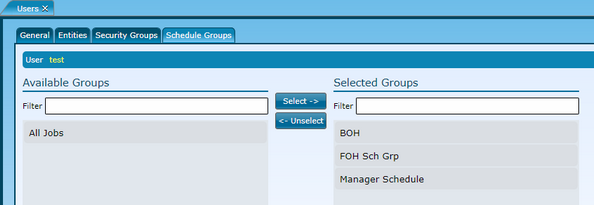
8.Assign the user to any applicable schedule groups:
This tab is only applicable if you have setup and use schedule groups.
For more information on how to select items, visit the Selecting Setup Items screen in the Tools section.
9.Click the Save button.
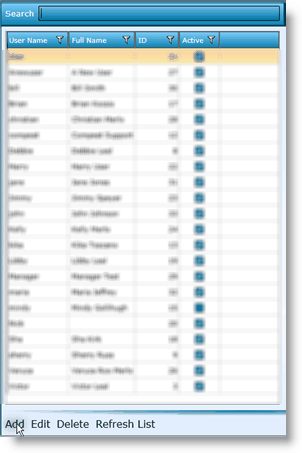
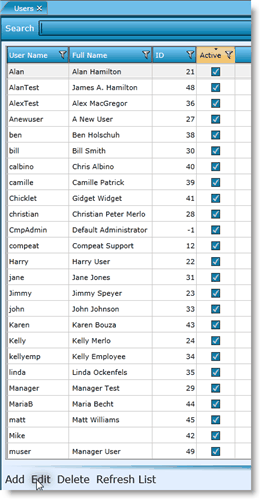
From the find screen either:
1.Double click on the User Name, Full Name or ID or
2.Highlight the user's record and click on the Edit link at the bottom.
This will open the user's record and make it available for editing.
Typically, you would not want to delete a user. You may need to reference past records or information. Instead of deleting the user, just uncheck their Active box to make them inactive.
Send feedback on this topic.