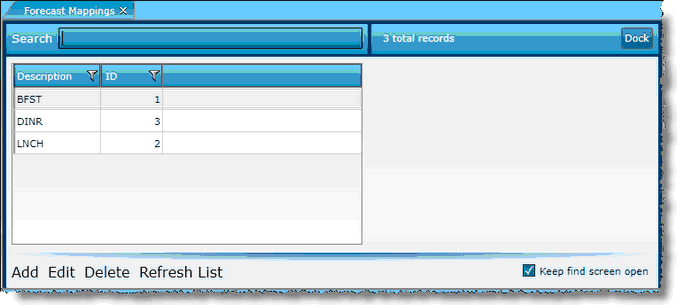
Labor Admin > Forecasting > Forecast Mappings
Forecast mappings are used to determine what data should be included in forecasting metrics. If you also use Compeat Advantage, you can select which accounts to include from accounts already established. Another option is to poll data from your point-of-sale system to be utilized in forecasting. After setting up a forecast mapping, you can apply it to any day part within a day part set.


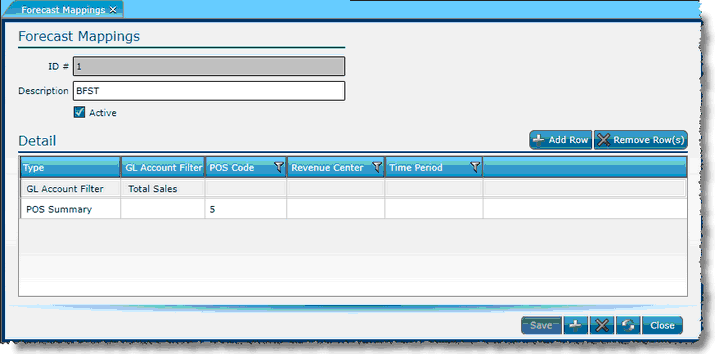
1.In the General tab, click the Add link.
2.Click in the Description field and name the mapping.
3.Click the Add Row button.
4.Select a Type from the drop down. This will be either a GL Account Filter, or a POS Summary (if custom polling is configured).
a.If GL Account Filter type is selected, choose the existing filter from the drop down for GL Account Filter.
b.If POS Summary type is selected, enter the POS Code. Optionally, you may also enter a Revenue Center and Time Period.
5.Click the Save button.
1.Either highlight the record you want to edit by clicking on it once to highlight it, then click the Edit link or double click on the record to open it.
2.Make changes.
a.Click the Add Row to insert a new detail record.
b.Click the Remove Row button to delete an existing detail record.
c.Click a field in an existing detail record to edit the selection or entry.
3.Click the Save button.
To delete a forecast mapping, highlight the mapping by clicking on it once, then click on the Delete link. Make certain that the forecast mapping is not currently tied to any current or historical records. If associated to records, it may not be deleted.
Alternately, you may uncheck the Active box from within the Forecast Mapping. Note that you will need to reassign an active forecast mapping to existing day part sets.
Send feedback on this topic.