POS Summaries |
  
|
POS Summaries |
|
Time & Attendance > Utilities > POS Summaries
POS Summary data can be polled and/or manually edited on this screen. This data can be associated with a Forecast Mapping, which allows schedule forecasts to be populated with the corresponding records matched on POS Code (and Revenue Center and Time Period if specified).
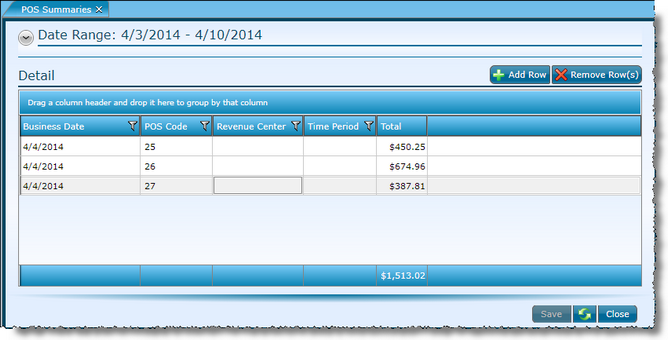
If you are polling data from your POS, the data will automatically populate this screen. You may edit the polled data at any time if corrections are needed.
If you are not polling data from your POS, but wish to utilize the POS Summary option for Forecast Mappings, you may manually enter the data on this screen.
1.Click the Add Row button in the upper right corner.
2.Click in the Business Date field and enter the appropriate date.
3.Click in the POS Code field and enter the code from your POS. This should correspond with a Forecast Mapping.
4.Optionally enter a Revenue Center and Time Period if applicable.
5.Click in the Total field and enter the value.
6.Click the Save button.
1.Click the field to be edited.
2. Type in the corrected data.
3.Click the Save button.
1.Click on a Detail record to highlight the row.
2.Click the Remove Row(s) button. To remove multiple rows, hold down the CTRL key on your keyboard while highlighting additional rows.
3.Click the Save button.
Send feedback on this topic.