The Inter-Store Transfers (ISTs) screen lets you account for inventory sent from one restaurant to another within your company. Before using this screen, you must configure this feature as describe in Inventory Adjustments Setup.
You can use a Standing Inter-Store Transfer as a template by clicking New Standing Order button in the screen toolbar, or fill in the fields described below.
Description of fields:
Transfer #, Ship Date, Entered By These fields fill in automatically with a system-generated Inter-Store Transfer (IST) number, the current date, and current user, respectively.
Recipient Code, Recipient Name Select the receiving entity either by vendor code or name. The drop-down list includes all restaurants in your system (other than the current restaurant) that have been set up to act like a vendor for the purposes of transferring inventory on the Vendors screen. Whichever field you choose, the other fills in with the associated information.
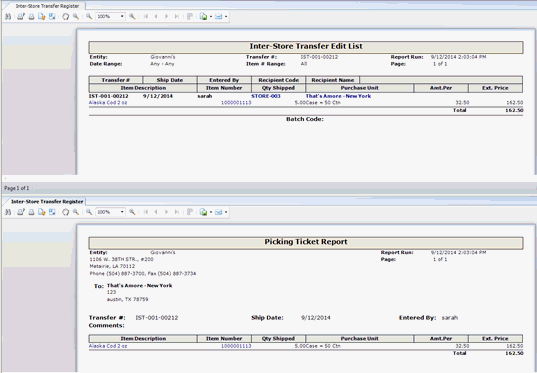
Comments Enter any comments you want to be delivered with this transfer. The comments appear on the Picking Ticket you can print from the Inter-Store Transfer Register. This Picking Ticket serves as the receiving restaurant's invoice for the transfer, and is typically shipped with the inventory.
In the Transfer Details grid specify the items and quantities you wish to include in the transfer.
Item Description, Item #, Purchase Unit, Amt. Each, Ext. Price When you select an Item Description or Item Number for the line item, all these fields fill in automatically. You can select restaurant inventory items or prep items. The purchase unit is derived from the item's Restaurant Inventory Item screen, and you cannot change prices on this screen, as with a typical invoice. The Amount Each field is recalculated based on the Ship Date above and the Inventory Valuation Method specified on the Setup menu > Other Definitions screen > Other tab, or the Standard Cost, if selected for use by the entity on the same tab.
Qty Shipped Enter the number of purchase units to be transferred. This is the only modifiable field for each item.
When you have completed the transfer detail, save and then post your IST. A credit is made to the Inventory in Transit account specified on the Other Definitions' Accounts Payable tab. Compeat will give the transfer a unique identifying number with an IST prefix.
You can view and print transfer postings on the Inventory Transfer Register. This is also where you can print a Picking Ticket that serves as the receiving restaurant's invoice for the transfer, and is typically shipped with the inventory:


The order is received at the destination restaurant as an invoice just like any other order, but it will not create a payable.
More specifically, the receiving restaurant creates an invoice batch and converts an order, choosing the PO# with the IST prefix. Any variance between what was shipped and what is received is then recorded, and, when the invoice is posted, the variance shows up as a debit to the originating restaurant's Fulfillment Variance account in the GL Account Totals listing of the resulting AP Transaction Register.
An option to fully accept or reject an inter-store transfer is available
in Enterprise Definitions.
If Disable modifications when receiving
IST is selected, the receiving store will be unable to modify the
transfer. The transfer can be rejected by selecting the ![]() button in the AP Invoice screen.
button in the AP Invoice screen.
If rejected, an Unship transaction will occur, and this action is logged under the AP Invoice screen audit.

The sending store will receive a rejection notice:

The original Inter-Store Transfer will remain unposted at the sending store, along with the rejection comment from the receiving store:

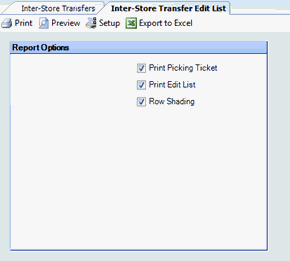
You can print a list of transactions or a picking ticket from this screen. Click the Print button to access the print options.